When it comes to storage, one is none, two is one and three is the minimum you should have. In 2013 I lost 34,766 photos spanning 10 years of my life and took measures to prevent it from ever happening again.
Early days
As I have mentioned in previous posts, I started taking photos more seriously around 2006 when I got a Sony DSC-R1, but had been using digital cameras since 2003 with my beloved Kodak CX6330.

My beloved CX6330
For a long time I kept my photos on my main hard drive and copied them from PC to PC whenever I got I new one, and then to Macs once I migrated over. I accumulated photos from my teen ages and on, going through my period in France and back to Brazil, including many many trips.
Eventually I got my first DSLR and started using Lightroom as part of my workflow. My library and photos were still kept on the same drive, until it became too small to remain my photo storage. From then onwards I got external USB drives that would serve me as photo libraries, and everytime it got close to full I expanded to a new external drive with my entire collection.
Backups never crossed my mind and I had been lucky to never have had a drive failure before. After I got back to Brazil I started looking into more robust Lightroom workflows for my photos and the idea of backups popped into my head. I decided to start fresh and bought two 1TB My Passport drives from Western Digital - one to be my main drive and the other a full backup to protect me in case of any failures.
My setup then became:
- Lightroom library stored on my main drive with weekly backups, also stored on that drive;
- Photo collection stored on one external USB drive;
- When photos were imported to the Lightroom catalog, a secondary copy was performed to my main drive - deleted after a couple of months;
- Monthly backups of the photo collection to the secondary external USB drive.
And it worked for a long time.
Disaster
In October 2013 I took a month long road trip with some friends throught the US Pacific West, from the Monument Valley all the way to the Pacific Coast Highway. After going back home I had imported everything to my catalog and decided to export and make copies of the collection to sent my friends. The drive started falt-ing.
Photos were taking too long to load, something was happening. At one point it just occured that the drive was dead.
Well, that’s what we have a backup for! Plug in the backup drive, open it. The folders start to take a while to open, weird noises from the reading head.
The backup drive is dead too.
What happened, you may ask? I honestly have no idea. Maybe it was a manufacturing defect, maybe something hit both drives and warped the plates, maybe the drives fell and hit the ground. I guess I will never know. The facts are they were both the same exact model, bought at the same time and from the same vendor.
I lost 34,766 photos I had taken from 2003 to 2013.
Recovery (or not)
I tried whatever I could. Living in Brazil, triggering a warranty from WD was hard. I tried recovering my data with dozens of softwares to no success and then contracted a professional data recovery service that offered no guarantees and tried to recover data from my two hard drives to a total cost of US$750. “The disks are too damaged”, they said.
As a last-ditch effort I managed to recover Lightroom generated previews of all my photos. Depending on the “use” of each photo Lightroom keeps a higher or lower quality preview alongside its catalog, in my case, on my main drive, still operational.
I got all preview files extracted with a nice script from Adobe themselves and managed to get a lot of things back. Some are really low-res 160 pixels wide thumbnails and others usable 2000 pixels wide posters.
I’m really happy I managed to save all I could and if Adobe has a script to extract photos from previews, that means a lot of people are facing the same unfortunate fate.
In case anyone is here for this same problem here is how to get your low-res photos back:
- After you download the script open Lightroom and navigate to Edit > Preferences (on Windows) or Lightroom > Preferences (on Mac);
- Go to the Presets tab and click on Show All Other Lightroom Presets to open the presets folder on Explorer or Finder;
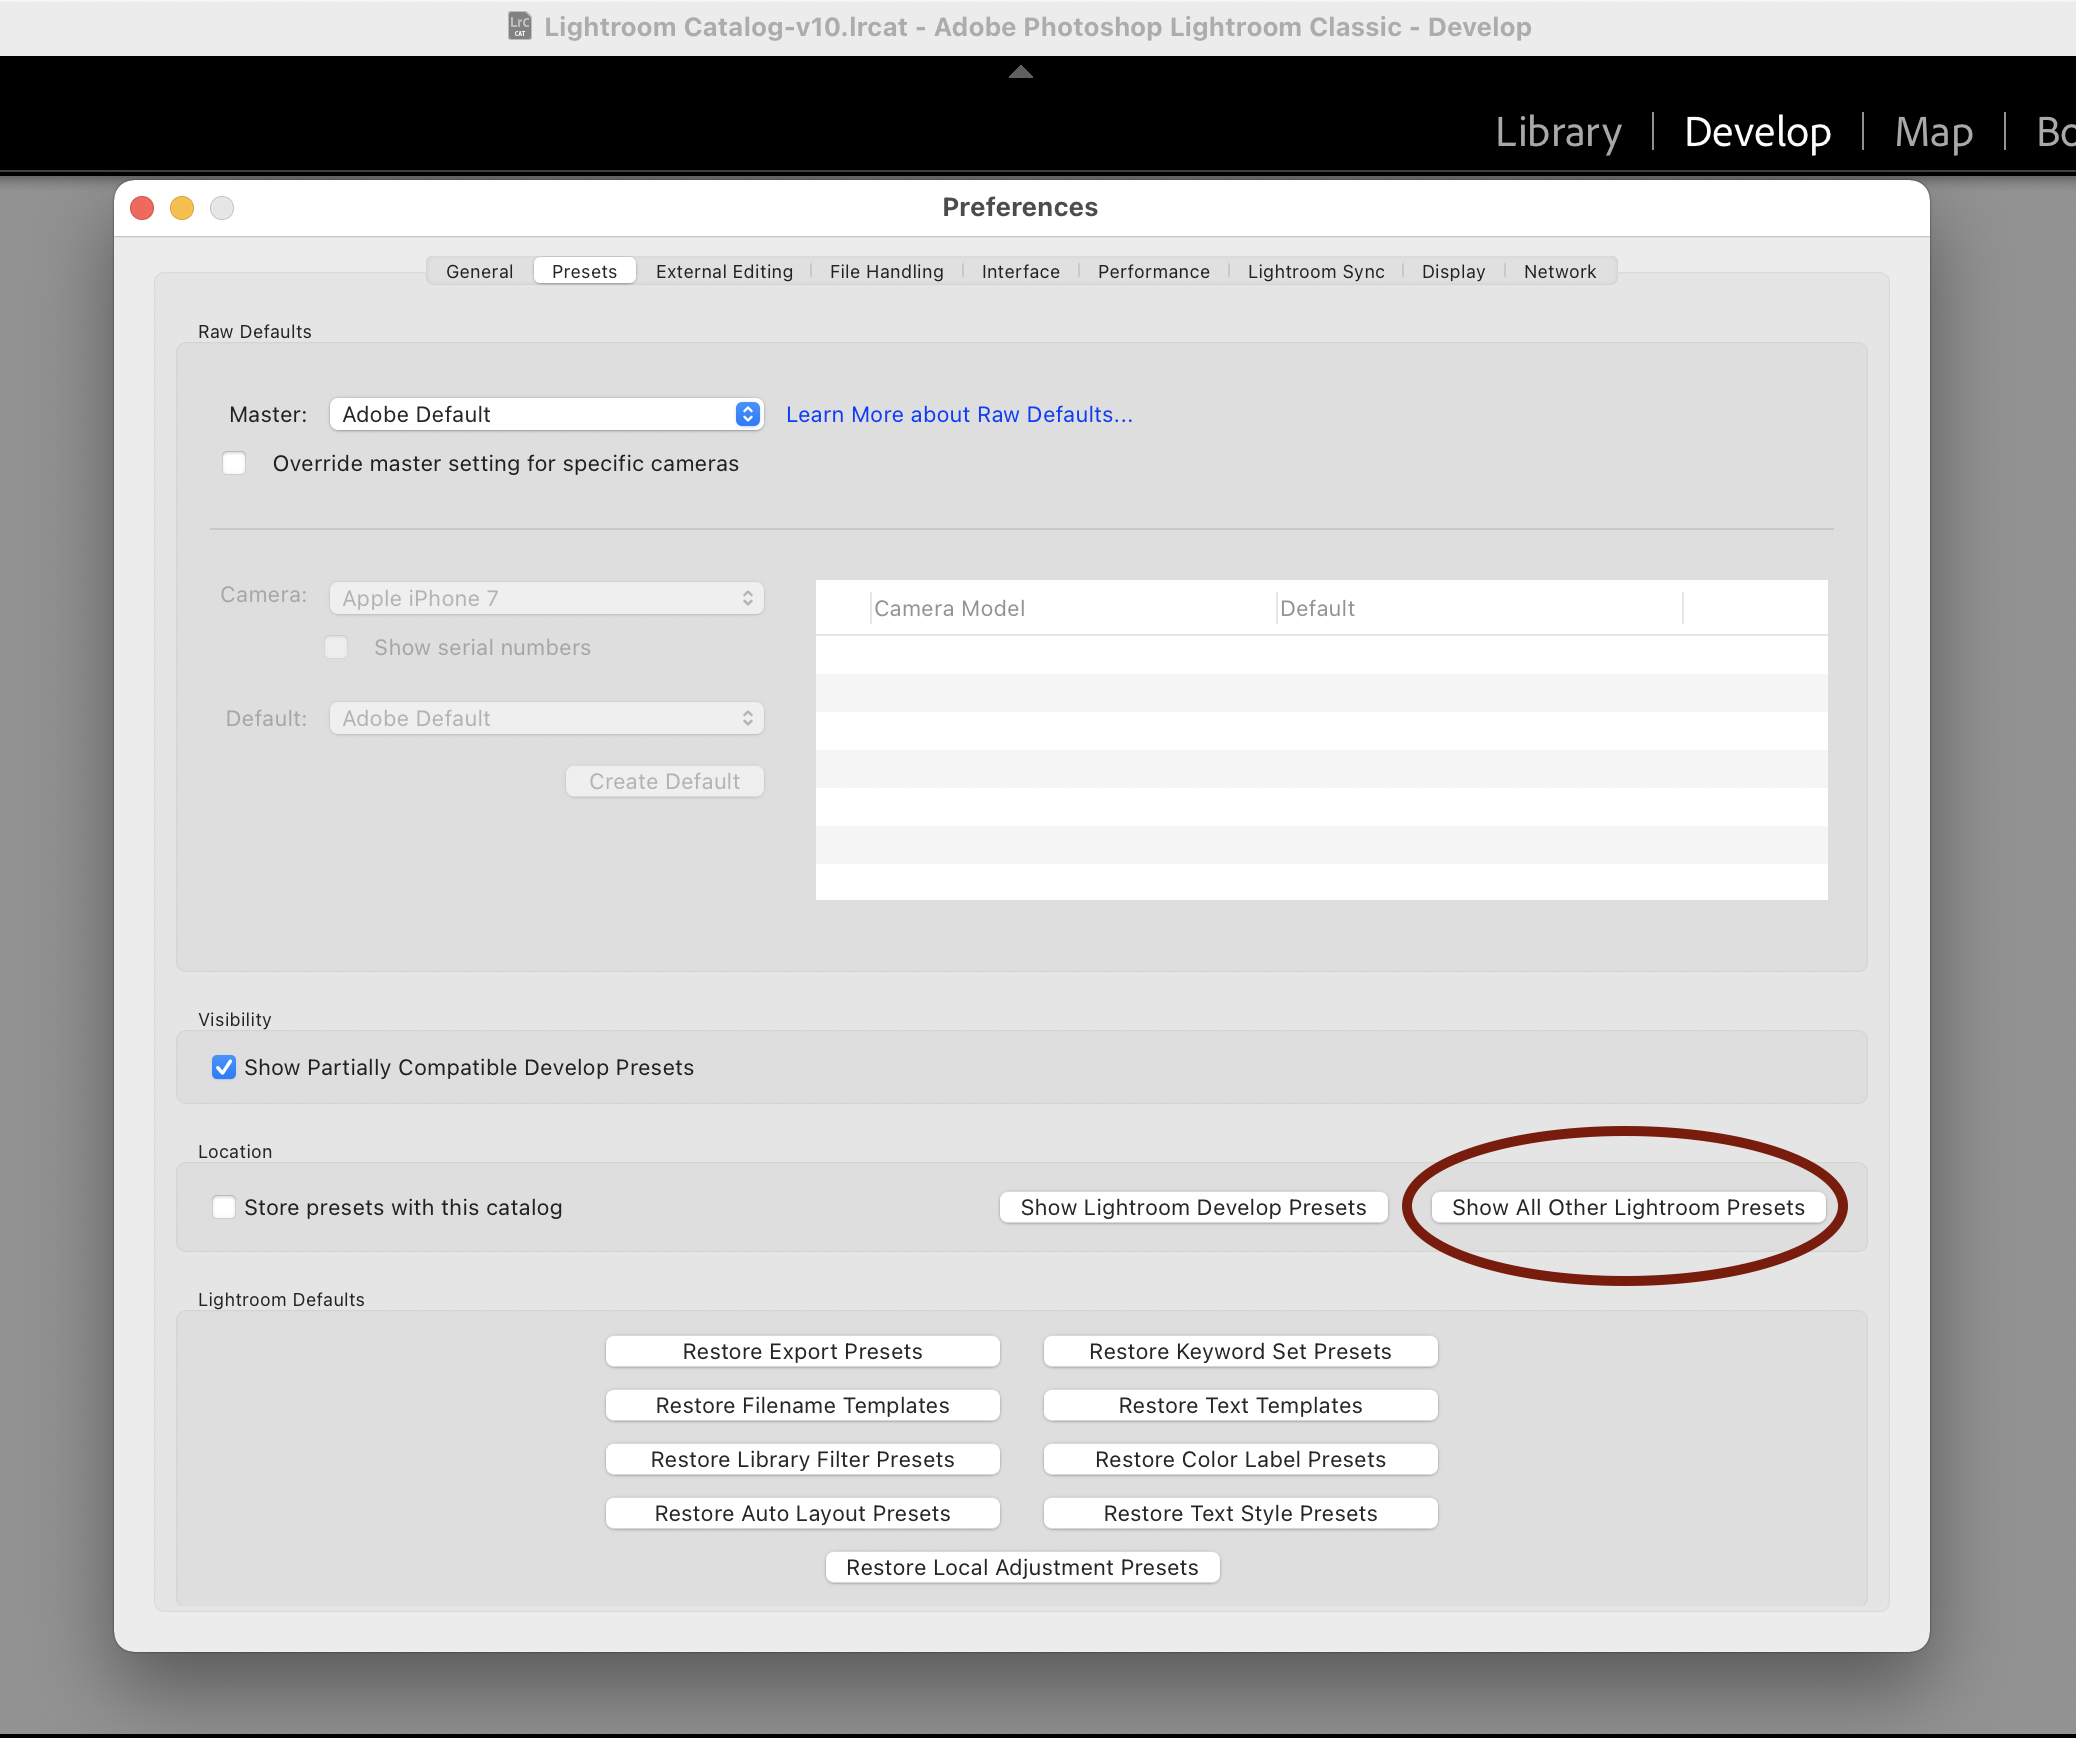
Lightroom preferences
- Create a new folder named Scripts, if one doesn’t already exists;
- Paste the ExtractPreviews.lua script file from Adobe inside this folder;
- Restart Lightroom so it loads the script, select all photos you want to recover and run the ExtractPreviews script;
- Select the folder you want the extractions to be.
You will end up with the best avaiable preview for each photo extracted, with the dimensions of the preview appended to the filename.
Backup
Now for what everyone should be doing. Backup.
After my incident I searched for a long time what available backup solutions I could use. I ended up landing on CrashPlan from Code42 and stick with them for a while. After a few years they decided to terminate their Personal Plan option and maintain only Small Business pricing schemes. That, added with the fact that their software was a joke (so slugish and a CPU killer), made me look around for other options.
At the same moment I was moving towards a more robust system, buying a Synology NAS to keep all my important files, including, of course, my photos. Synology provides a built-in backup platform called Hyper Backup, with support to lots of different ways to backup your data, from Local Folders, USB drives, Remote NAS, File Servers (rsync and WebDAV) and many different Cloud providers - Microsoft Azure, Dropbox, Google Drive and S3 Storage to mention a few.
Synology also provides a more streamlined sync service called Cloud Sync, target towards simple file transfer to cloud services such as Dropbox and Google Drive, with no incremental backup and limitations to file sizes and names.
I wanted to keep my transfers to a minimum and maintain versioning of my files if possible. That meant sticking with Hyper Backup. From the service providers I researched, the one that popped due to service options, good reviews and price was Wasabi.
- Wasabi works with S3 Storage, compatible with Hyper Backup;
- Price is a fraction of Amazon’s - US$5.99/TB instead of vs US$23/TB;
- I can keep smart versioning on within Hyper Backup and not worry about versioning in the provider.
Setting up Wasabi with Synology’s Hyper Backup
Starting a new account with Wasabi is easy and you can get a free 30-day trial right of the bat. So, no harm trying!
Wasabi signup trial

After creating a new account you can create a new bucket:
- On Buckets click on Create a new bucket
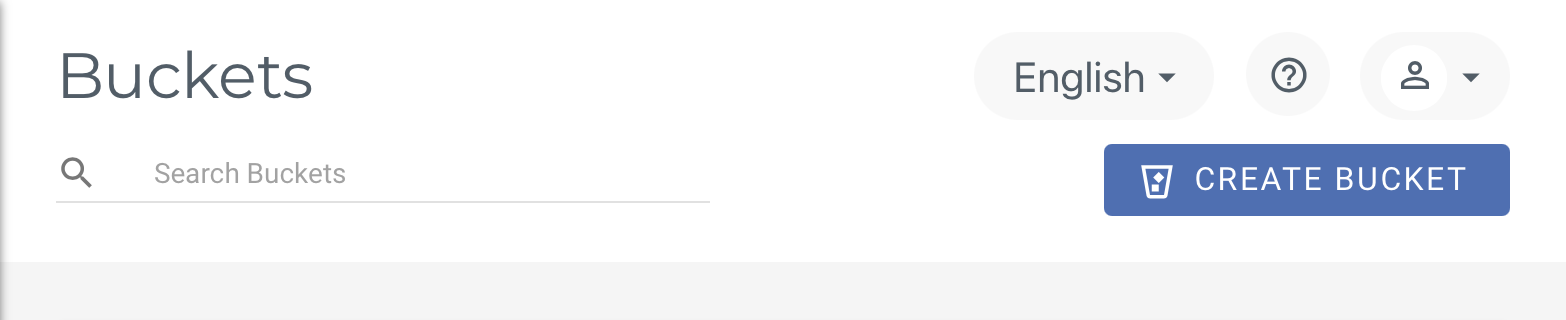
Click on 'Create a new bucket'
- Give it a name - it has to be unique for all of Wasabi;
- Select a region for the Wasabi data center;
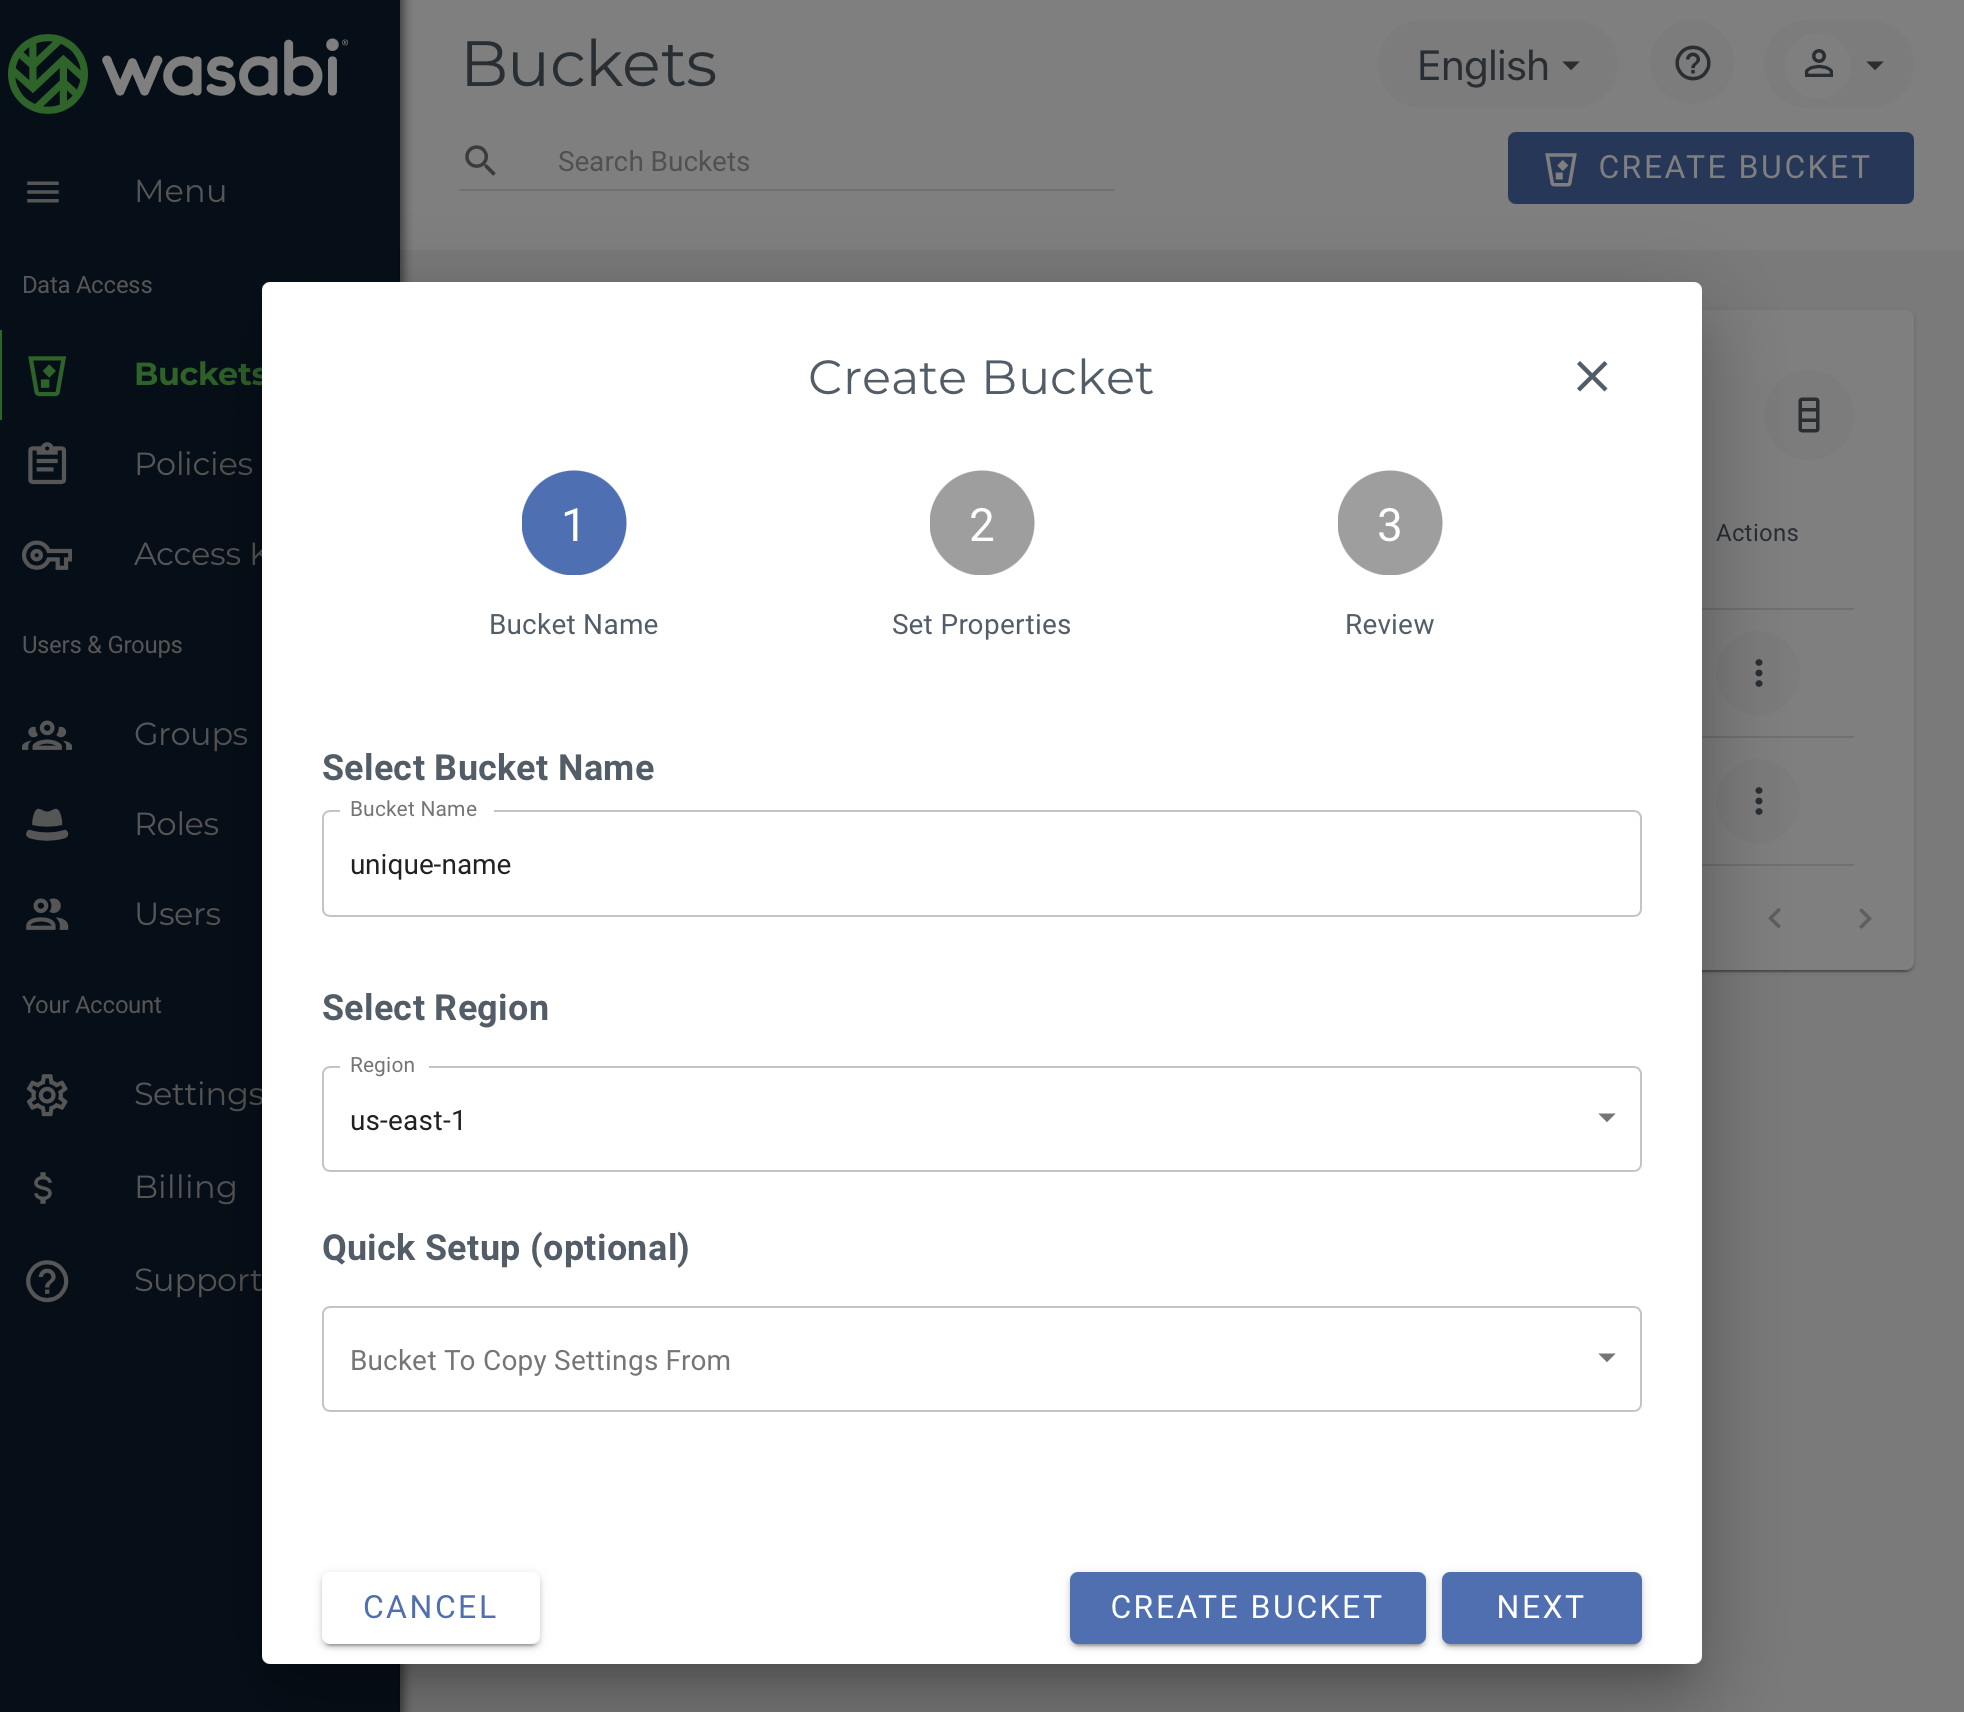
Set a name and region for your bucket
- When asked if you want to enable bucket versioning choose No, as Hyper Backup will take care of that for you;
- I also kept no logs, Hyper Backup also stores it’s own logs separately.
- Hit Create Bucket
Now you need to setup Access Keys so that your scheduled backup tasks can connect and backup to Wasabi.
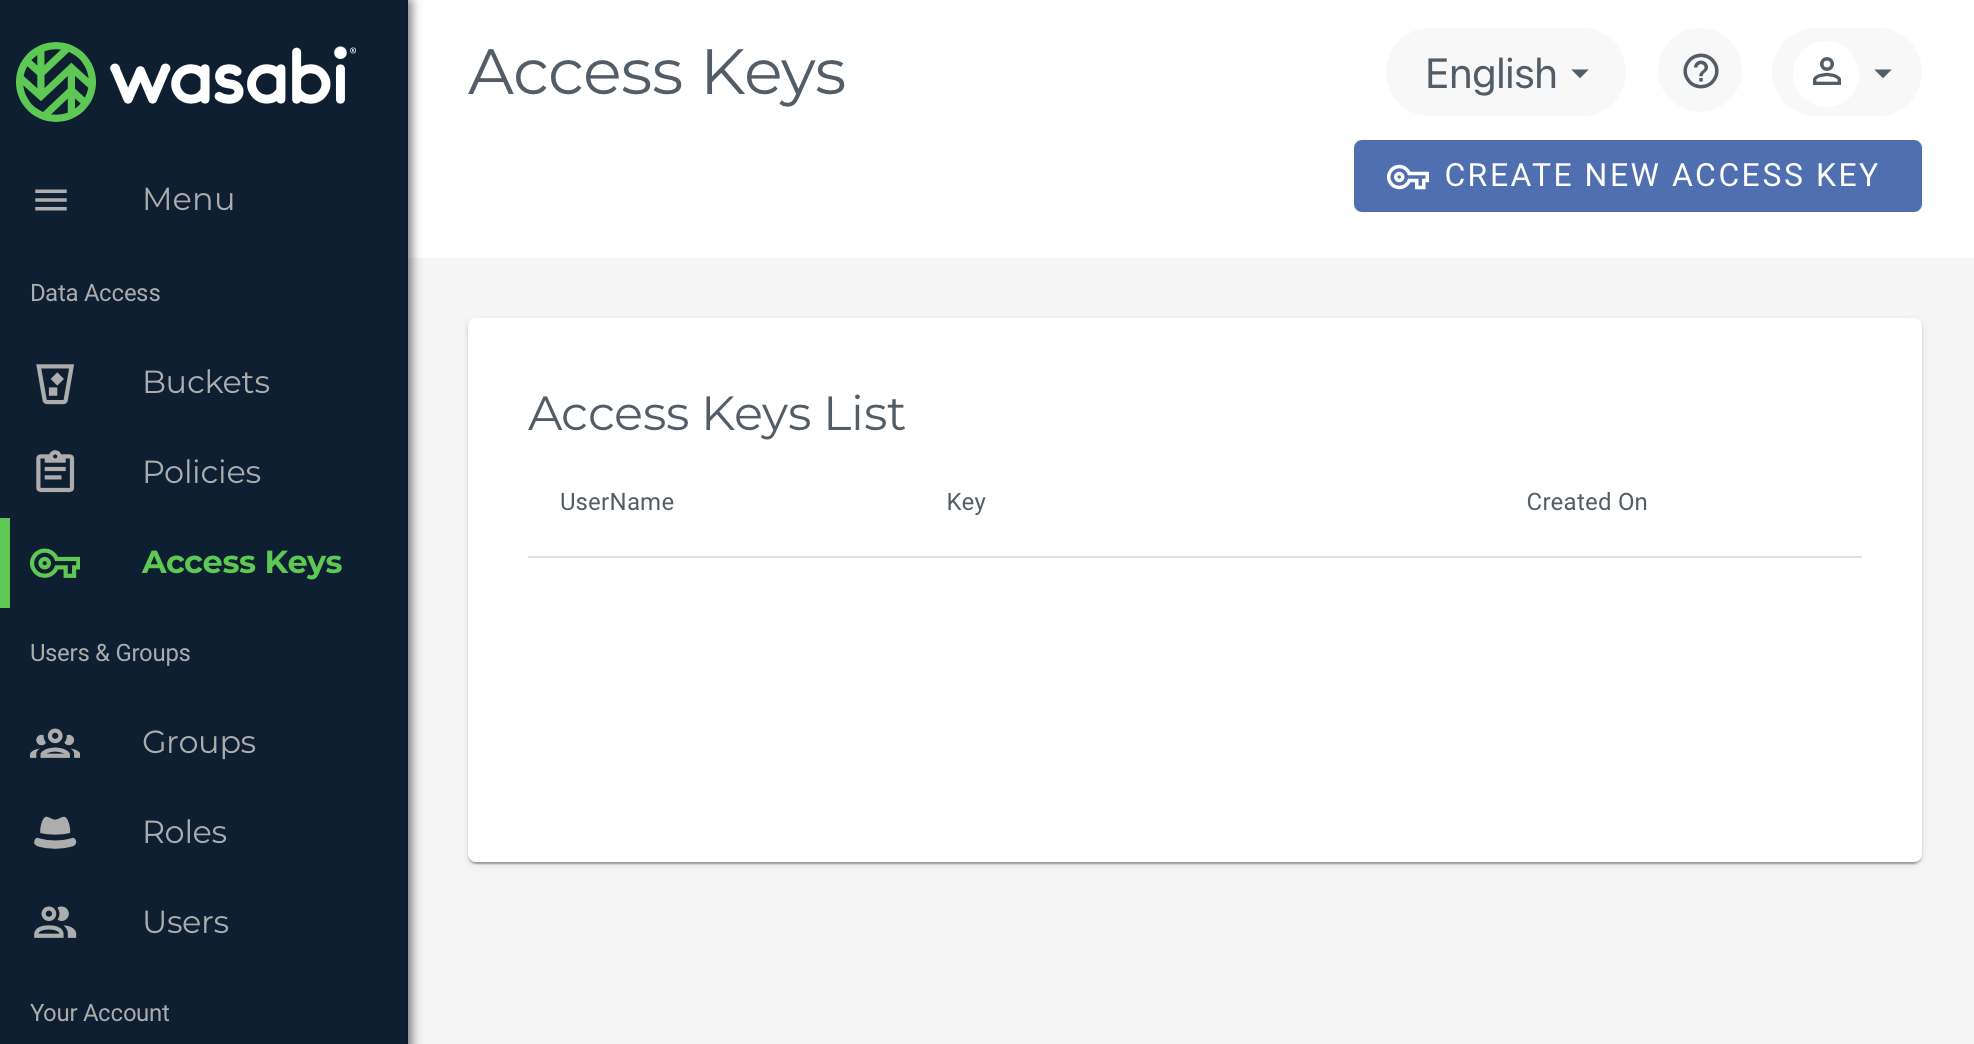
Create a new access key for your backup task
- On Access Keys click on Create a New Access Key;
- You can choose to generate a sub-user key only and protect root access (for that you need to create a new user as well);
- I went with root access, since it is a private and personal backup only;
- Make note of your Access Key and Secret Key - you will need them both later and once you close the window the Secret Key is never displayed again.

Make note of your keys
To setup your backup task, open Hyper Backup on your Synology DSM:
- Click on Create > Data backup task to start a new task;
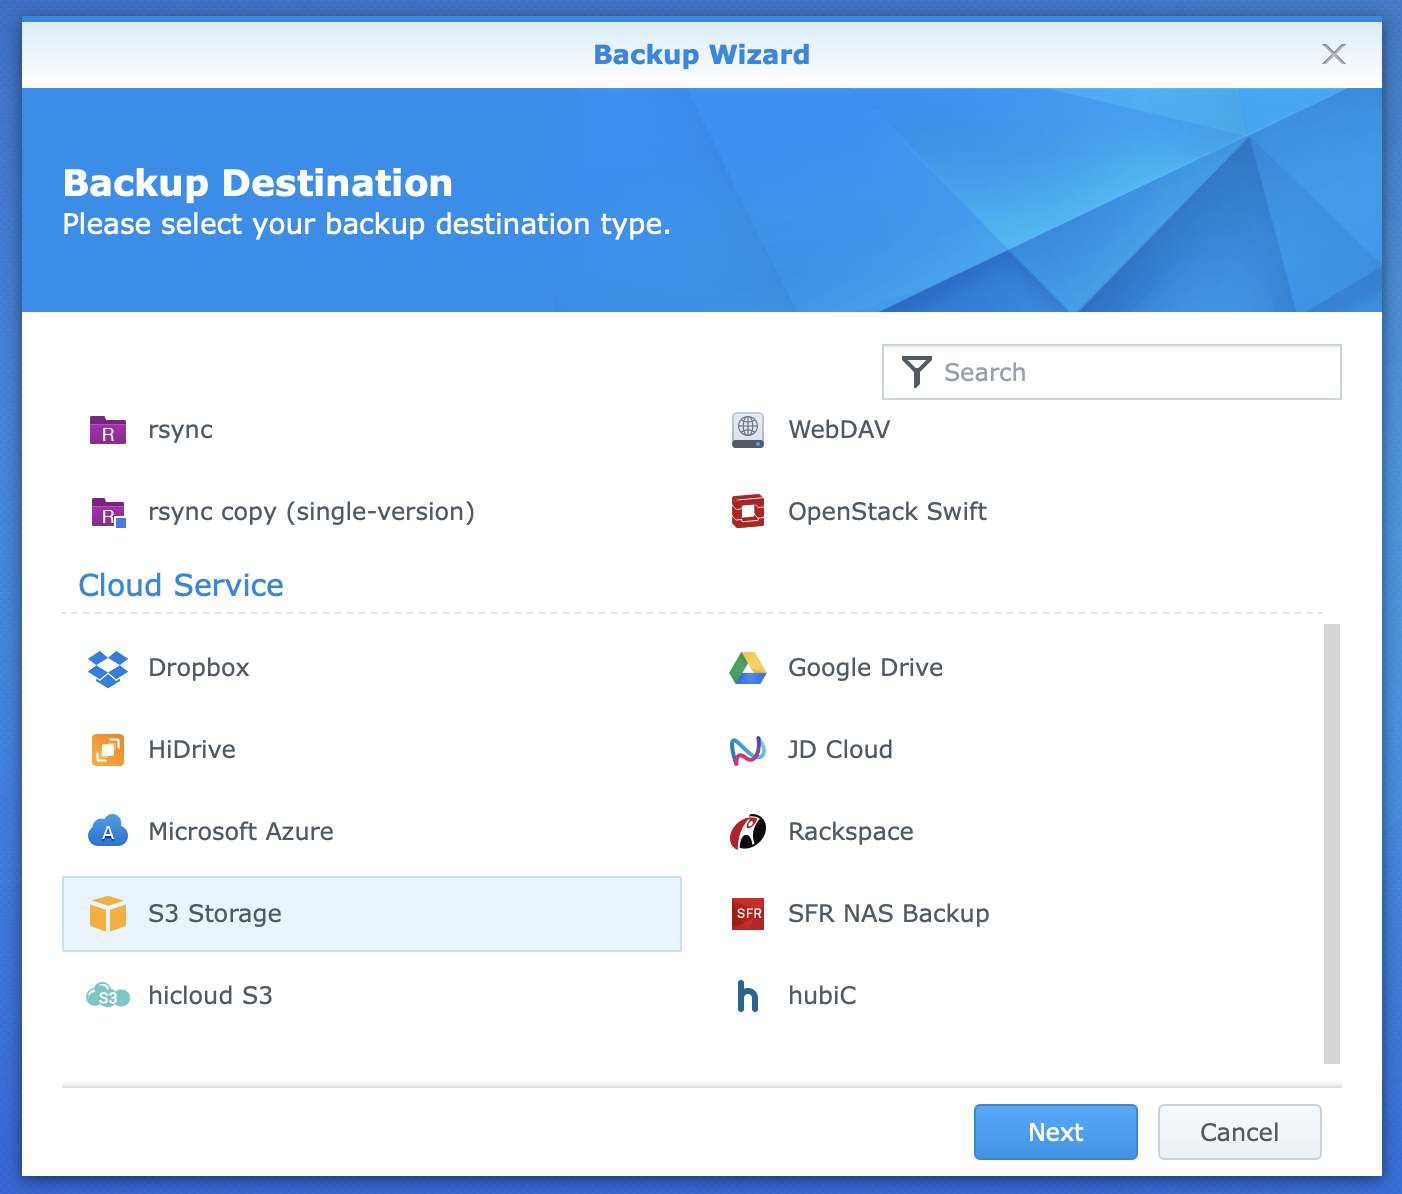
Create a new backup task
- Choose S3 Storage;
- On S3 Server choose Custom Server URL and add the service URL for your bucket’s region:
- Wasabi US East 1 (N. Virginia): s3.wasabisys.com
- Wasabi US East 2 (N. Virginia): s3.us-east-2.wasabisys.com
- Wasabi US Central 1 (Texas): s3.us-central-1.wasabisys.com
- Wasabi US West 1 (Oregon): s3.us-west-1.wasabisys.com
- Wasabi EU Central 1 (Amsterdam): s3.eu-central-1.wasabisys.com
- Choose your signature version as v4;
- Add your Access Key and Secret Key;
- Choose the bucket you want to backup to;
- Choose a directory inside the bucket - this will be your backup.
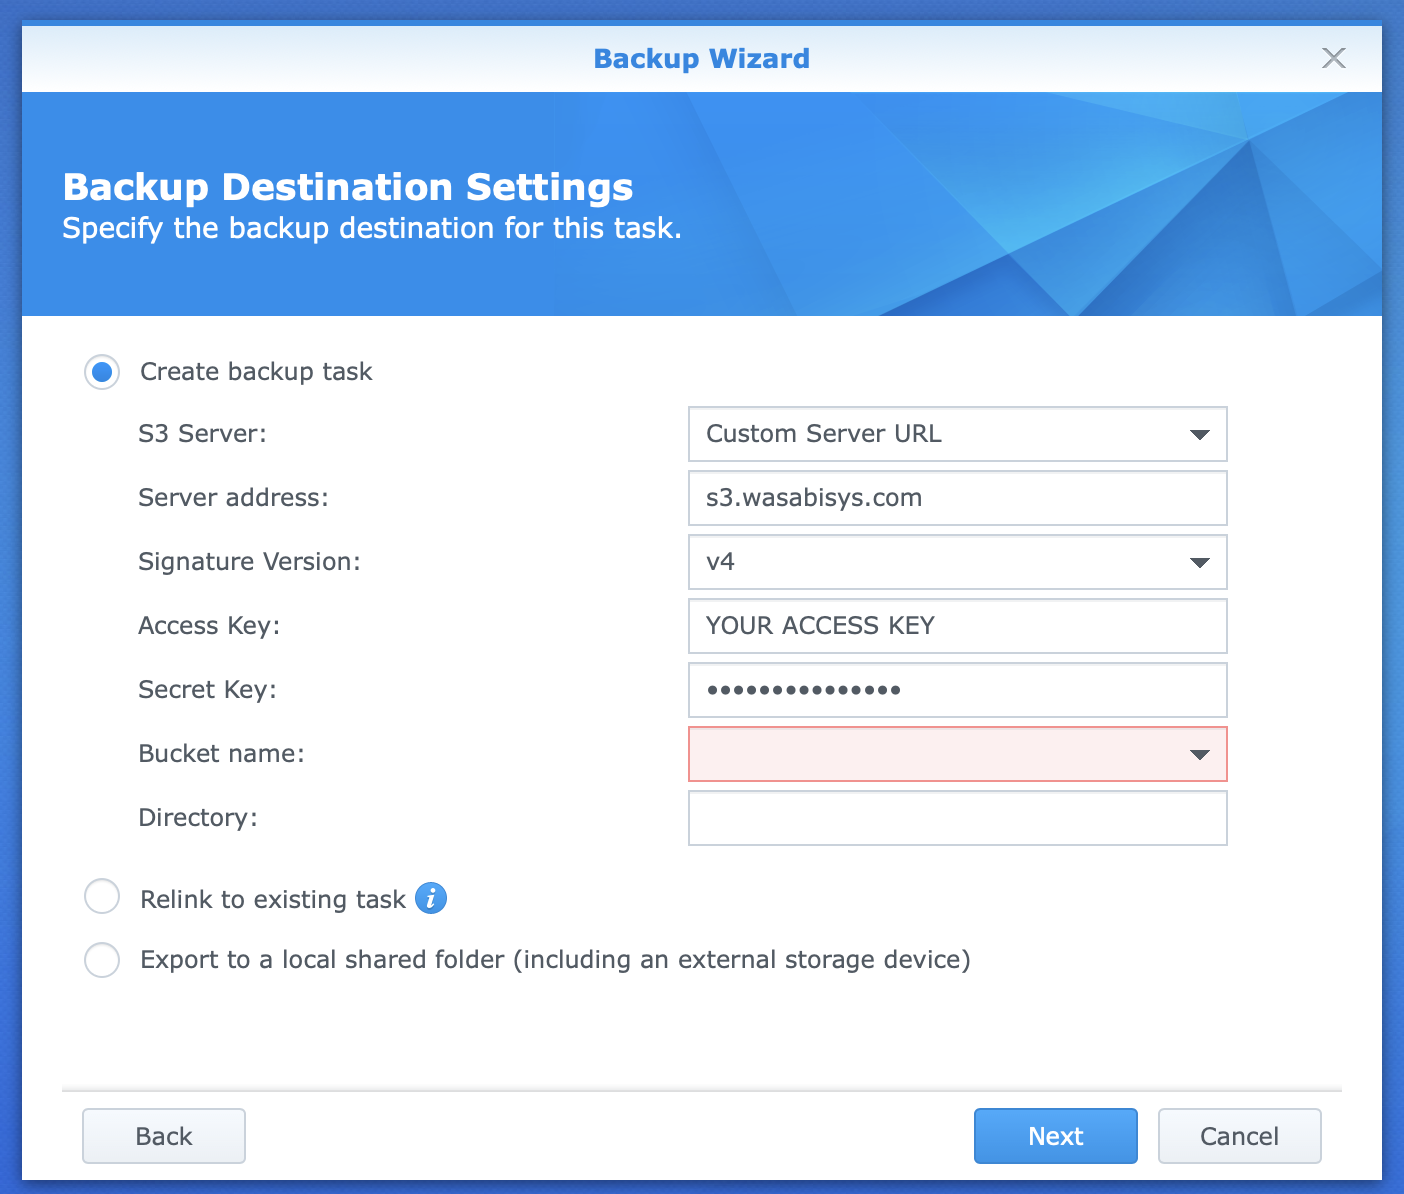
Add your account details
On the next screens you can choose which folders and which Synology application settings you want to backup.
After that you can give the task a name and setup a few details. I’ve turned on Task notifications, Compress backup data and Enable transfer encription, and set backups to occurs daily during the night and integrity checks once a week.
On the next screen comes the power of Hyper Backup versioning. I’ve enabled Backup Rotation through Smart Recycle, which enforces the following versioning rules until the number of versions you setup is exceeded:
- Hourly versions from the past 24 hours: Keep the earliest version created each hour;
- Daily versions from the past 1 day to 1 month: Keep the earliest version created each day;
- Weekly versions older than 1 month: Keep the earliest version created each week.
I chose 80 versions, which seems to work fine to me, giving me a bit more than a year of versions - 15 months to be precise.
After this you click Apply and your task is ready!

All set!
If you have 2, you have 1
As I said in the beginning of the post, if you have 2 you have 1. And 3 is the minimum you should have.
Where is my third copy, then? Well, inside Synology itself. Synology runs a proprietary RAID system that adds redundancy to the storage - they call it Synology Hybrid RAID, or SHR.
SHR protects me from any 1 single hard drive failure within the NAS, keeping 2 copies of every single byte in different drives at all times. In reality this is not a backup, just redundancy, as if something happened with the unit itself - fire or flooding, for example, redundancy would serve me for nothing. But it works fine for me by having a third copy in the cloud with Wasabi.
One day I might have enough financial power to get a secondary (and preferably remote) NAS to where I can make a real third backup.
I hope I will never need a backup again, but now I can sleep well knowing my files as secure if I need them back. And you should too.