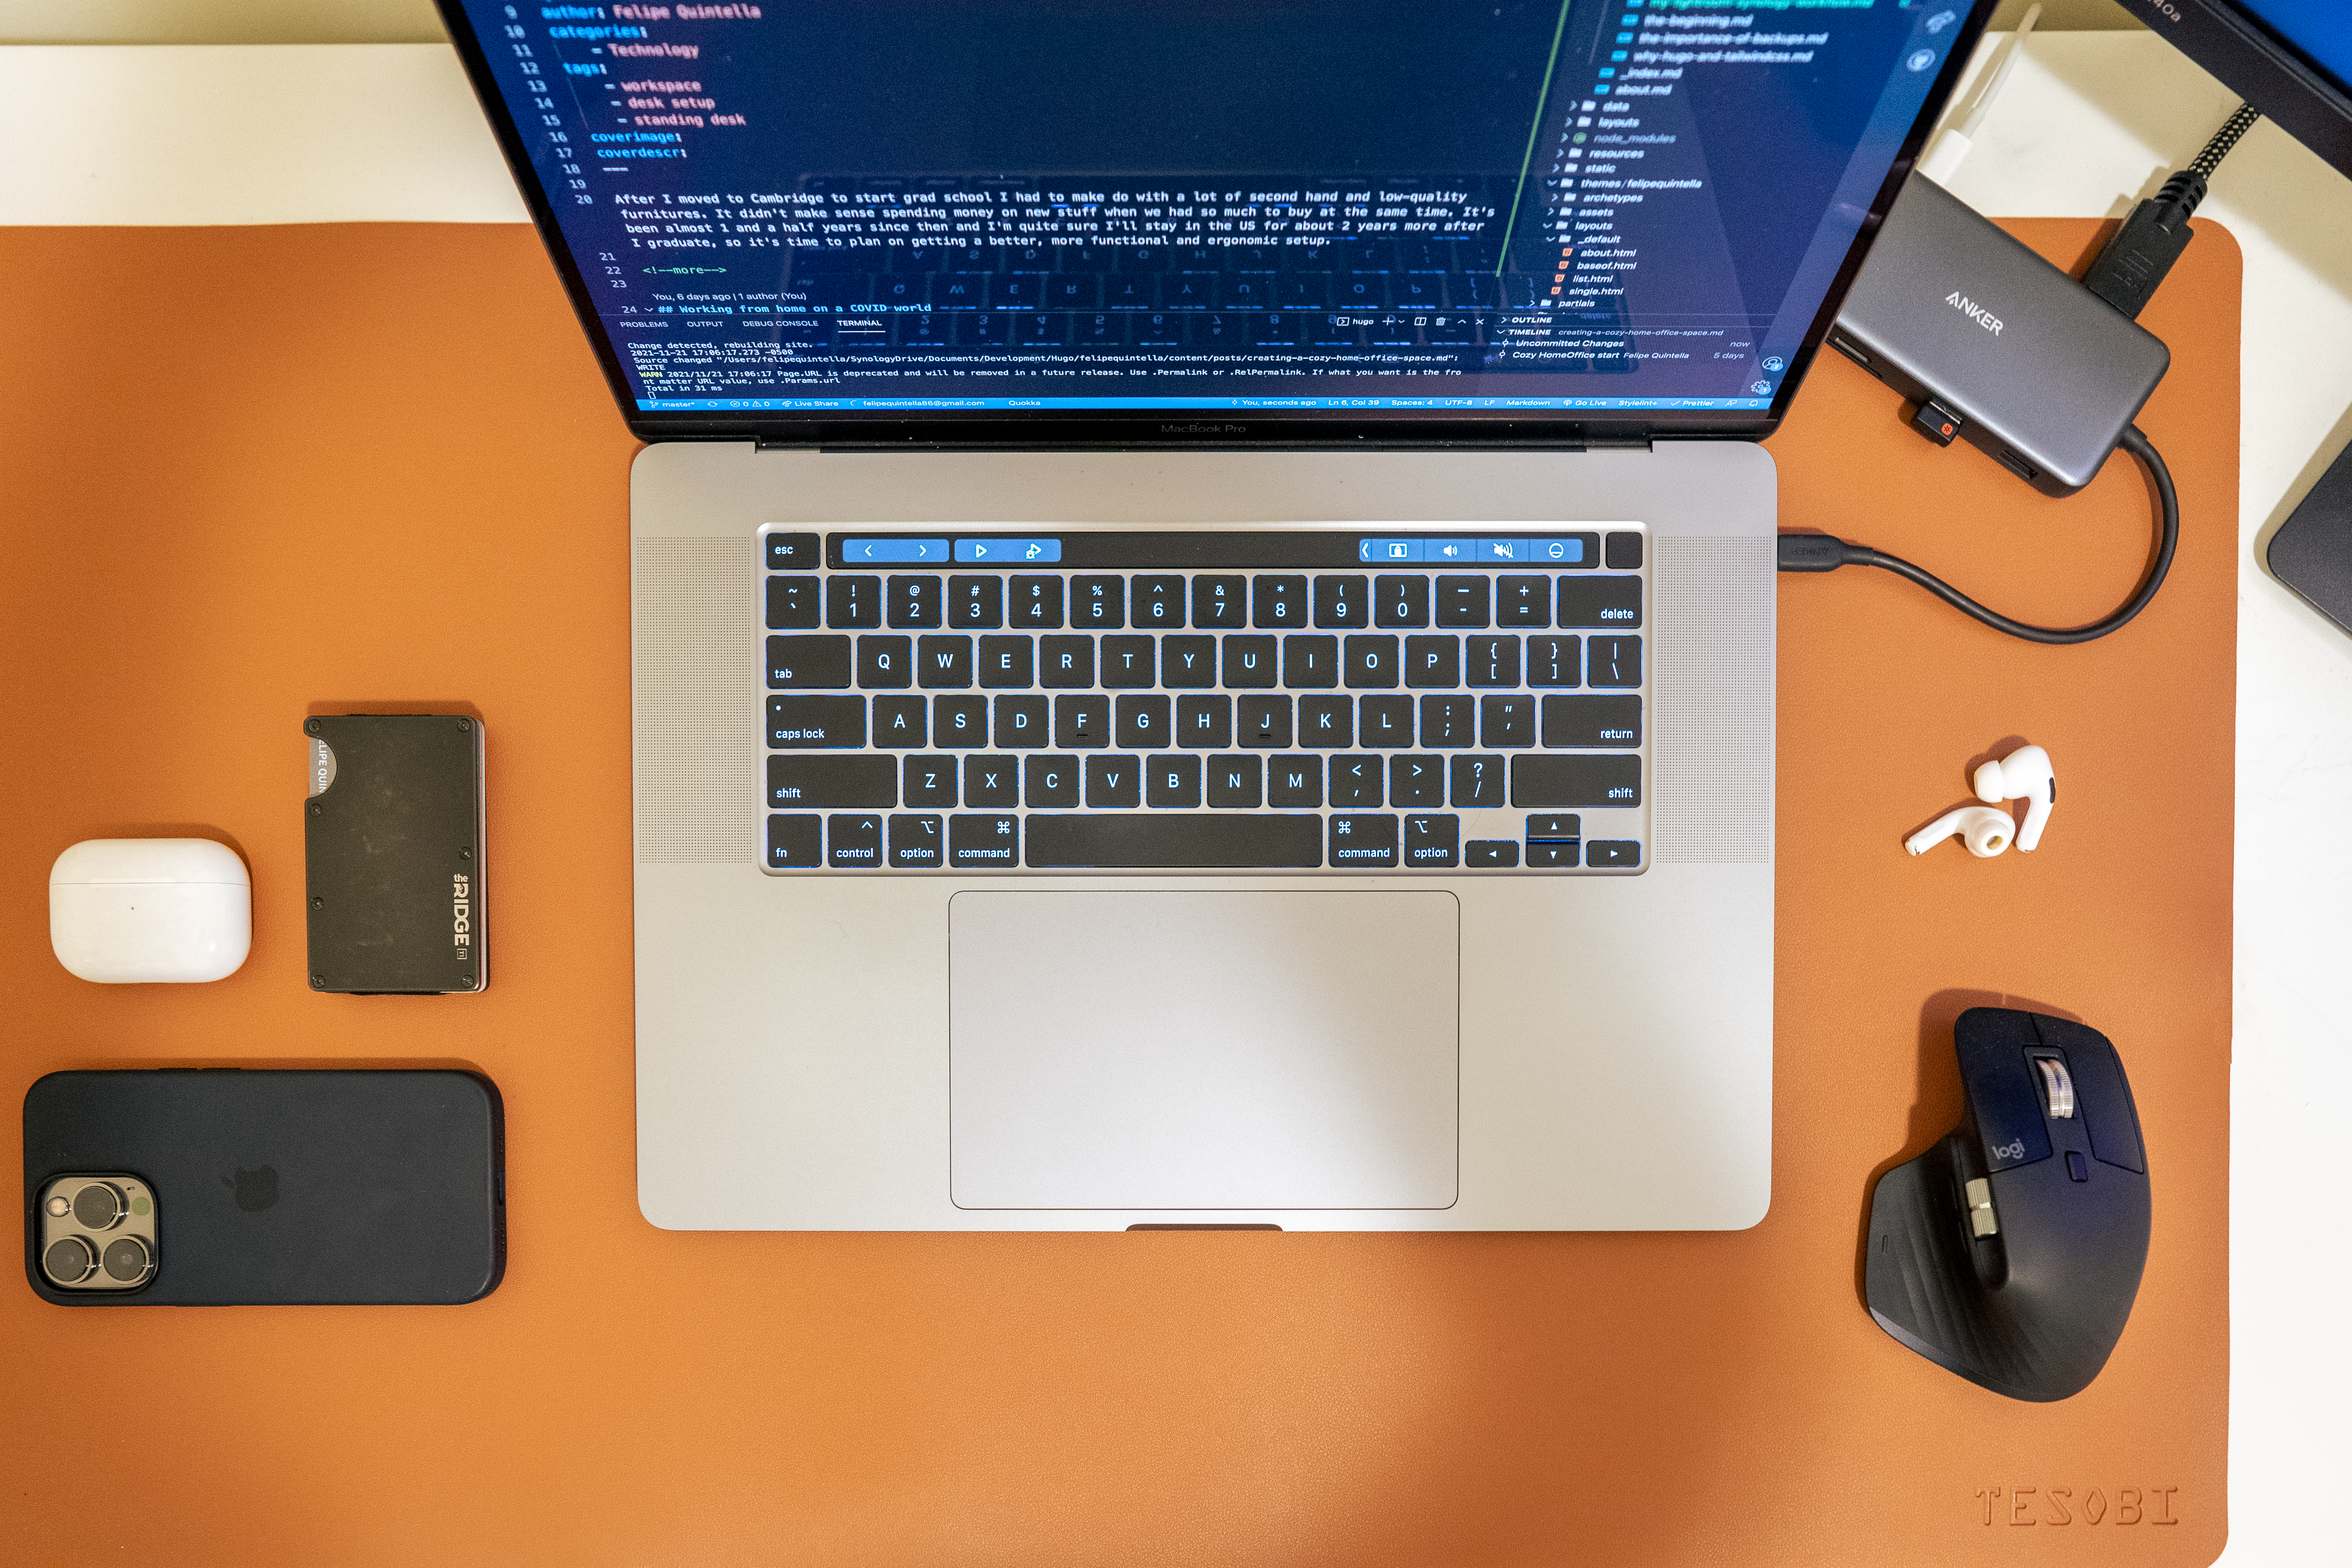
After I moved to Cambridge to start grad school I had to make do with a lot of second hand and low-quality furnitures. It didn’t make sense spending money on new stuff when we had so much to buy at the same time. It’s now been almost 1 and a half years since and I’m quite sure I’ll stay in the US for about 2 years more after I graduate, so it’s time to plan on getting a better, more functional and ergonomic setup.
Working from home on a COVID world
After having a very weird year, a lot of zoom calls, hybrid classes and virtual happy hours I decided that a standing desk is a must-have for me to have a productive home-office setup. Spending hours sitting at an uncomfortable desk with non-ideal table height, off-center monitor and still using my MacBook keyboard instead of a standalone one took its toll on me and week after week my willingness to keep doing work reduces. My arms stay positioned at a non-natural angle because my chair had to be lower than optimal due to the desk having drawers below it, and the sharp corners cut into my fore-arms. So, yes – I decided to spend some money and build myself a nice, comfortable and hopefully cozy home office.
But of course, being the tech-crazy person I am, it can’t just be a simple task. I’m prepared to go full research on this! So, to start, I built a wish list of what I want to buy, no brands or models, just what kind of items I want. The essentials are:
- Standing desk;
- Standalone keyboard;
- Monitor arm.
And the extras that I’ll hopefully build within some time:
- New curved monitor;
- Laptop dock;
- Desk mat;
- Filing cabinet.
The Standing Desk
There are now so many options that it becomes hard to find your ideal one! Specially online shopping, when you can’t really see it and feel it. I love to online shop, but to be honest some things are better done in-person – yes, I’m talking to you, ‘zoom happy hour’.
Anyway, I’ve researched a bit and found a feel contenders: the Jarvis from Fully, the V2 from UPLIFT and the Sway from Ergonofis. All three of them offer premium desks with wood/bamboo desktops which I was looking for. The cozy feeling of warm wood tones are something I’m aspiring to have in my home office.
After this first downselection it was a matter of choosing the best fit. For the best value I decided going with the UPLIFT V2. It shows up in first at most ‘Top X standing desks’ and comes with a lot of free accessories you can choose from. It’s not super expensive – the Sway alone goes for $1300, while the V2 starts at $600 and offers a lot of customization.
And on that note, I customized it as such:
- Narrow version, 24"x48";
- Bamboo desktop;
- White V2 C-frame;
- White grommets;
- Advanced comfort keypad;
- Free bamboo motion x-board;
- Free small half-circle white desk drawer;
- Free bamboo desk drawer;
- Advanced wire management;
All of it for $847.
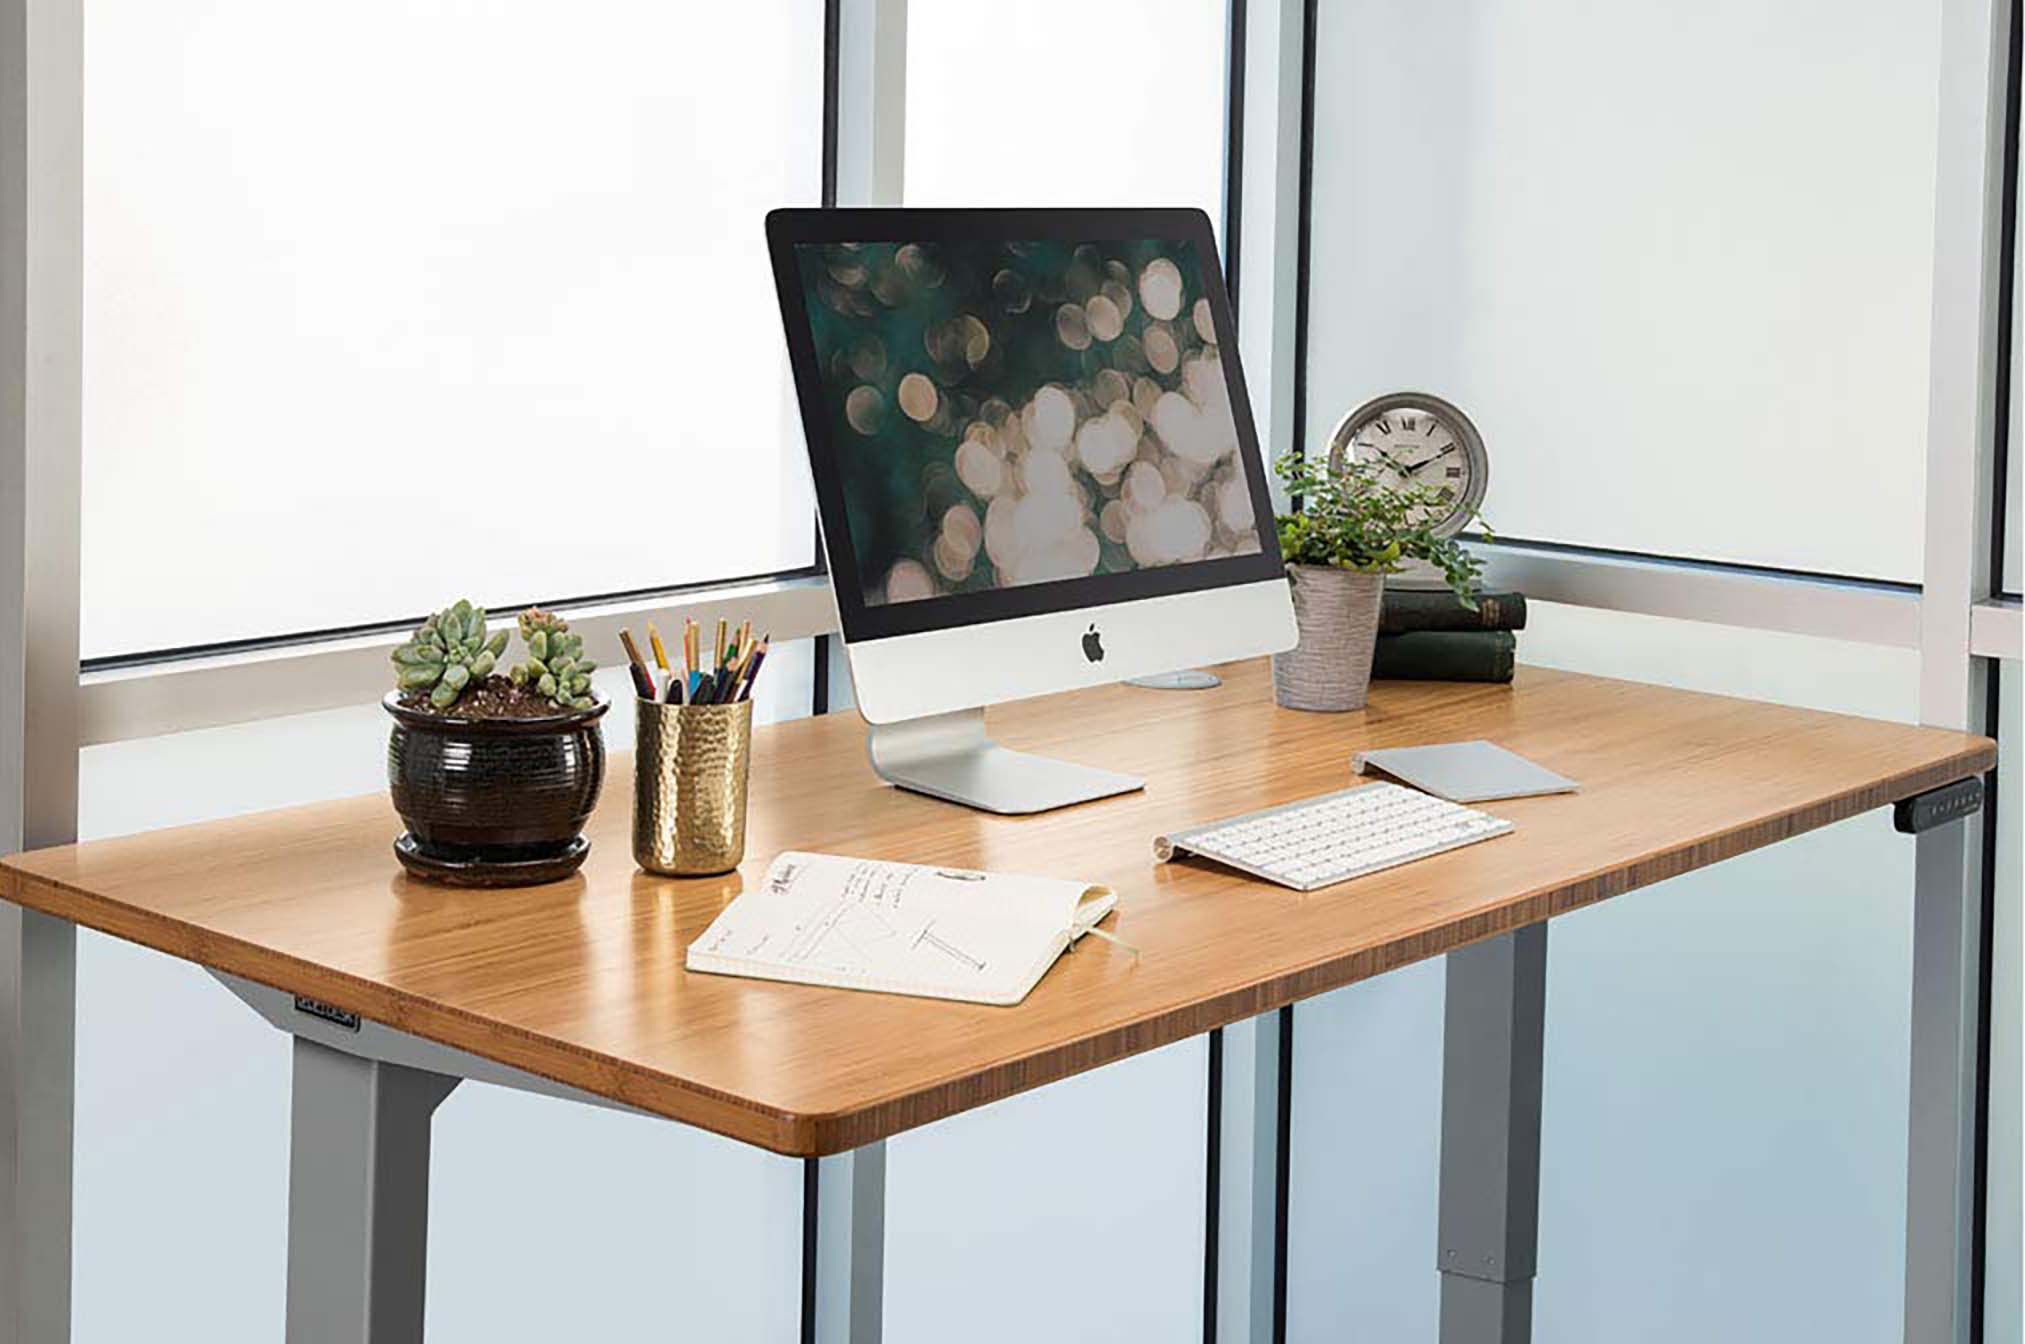
Kinda cozy setup I hope to achieve
Standalone keyboard
Let’s be honest, writing on your laptop is okay when you’re working from a coffee shop or your college library, but for a more long-term session the writing comfort is not optimal. And that’s not even getting into the fact that you have to be looking at your laptop screen or risk getting a stiff neck by staring sideways to your main display.
After a very short research, of course I fell into the mechanical keyboard rabbit hole. I know I’m late to this one, but it is only now that I’m feeling the need for a standalone keyboard… As a beginner in this field, I wanted a pre-built unit, but one that I could later on tweak and update with new switches and keycaps if I end up going further down this hole.
I didn’t know how complicated a keyboard could become, and started looking into all of the customization aspects of this hobby. Mechanical Keyboards is a great reference source for anyone going into it!
Switches
These are basically the “activator” of the key-press. There are different types that give you diverse tactile feedback and have bigger or smaller travel distances and sound profiles. Some are more clicky, other travel without any feedback to it. Which one you get will depend a lot on your own preferences – and those of the people around you. Another important parameter when choosing a switch is the pressure you need to put on it to actually make it travel.
There has been a sort of standardization in terms of how each brand calls their switches, with a few expections.
-
Red switches are usually linear – meaning they don’t offer tactile feedback when pressed, and have the quieter sound profile. They are often used for gaming, as they offer constant response to increasing pressure and so gamers can rely on them more.
-
Blue switches are clicky and so offer a lot of tactile feedback. They are the noisier and may botter people around you quite a bit. They are recommended for typists that require precision and speed when typing.
-
Brown switches are a middle ground between the two above. They offer some sort of tactile feedback without being excessively noisy, and a quiter operation, closer to red switches.
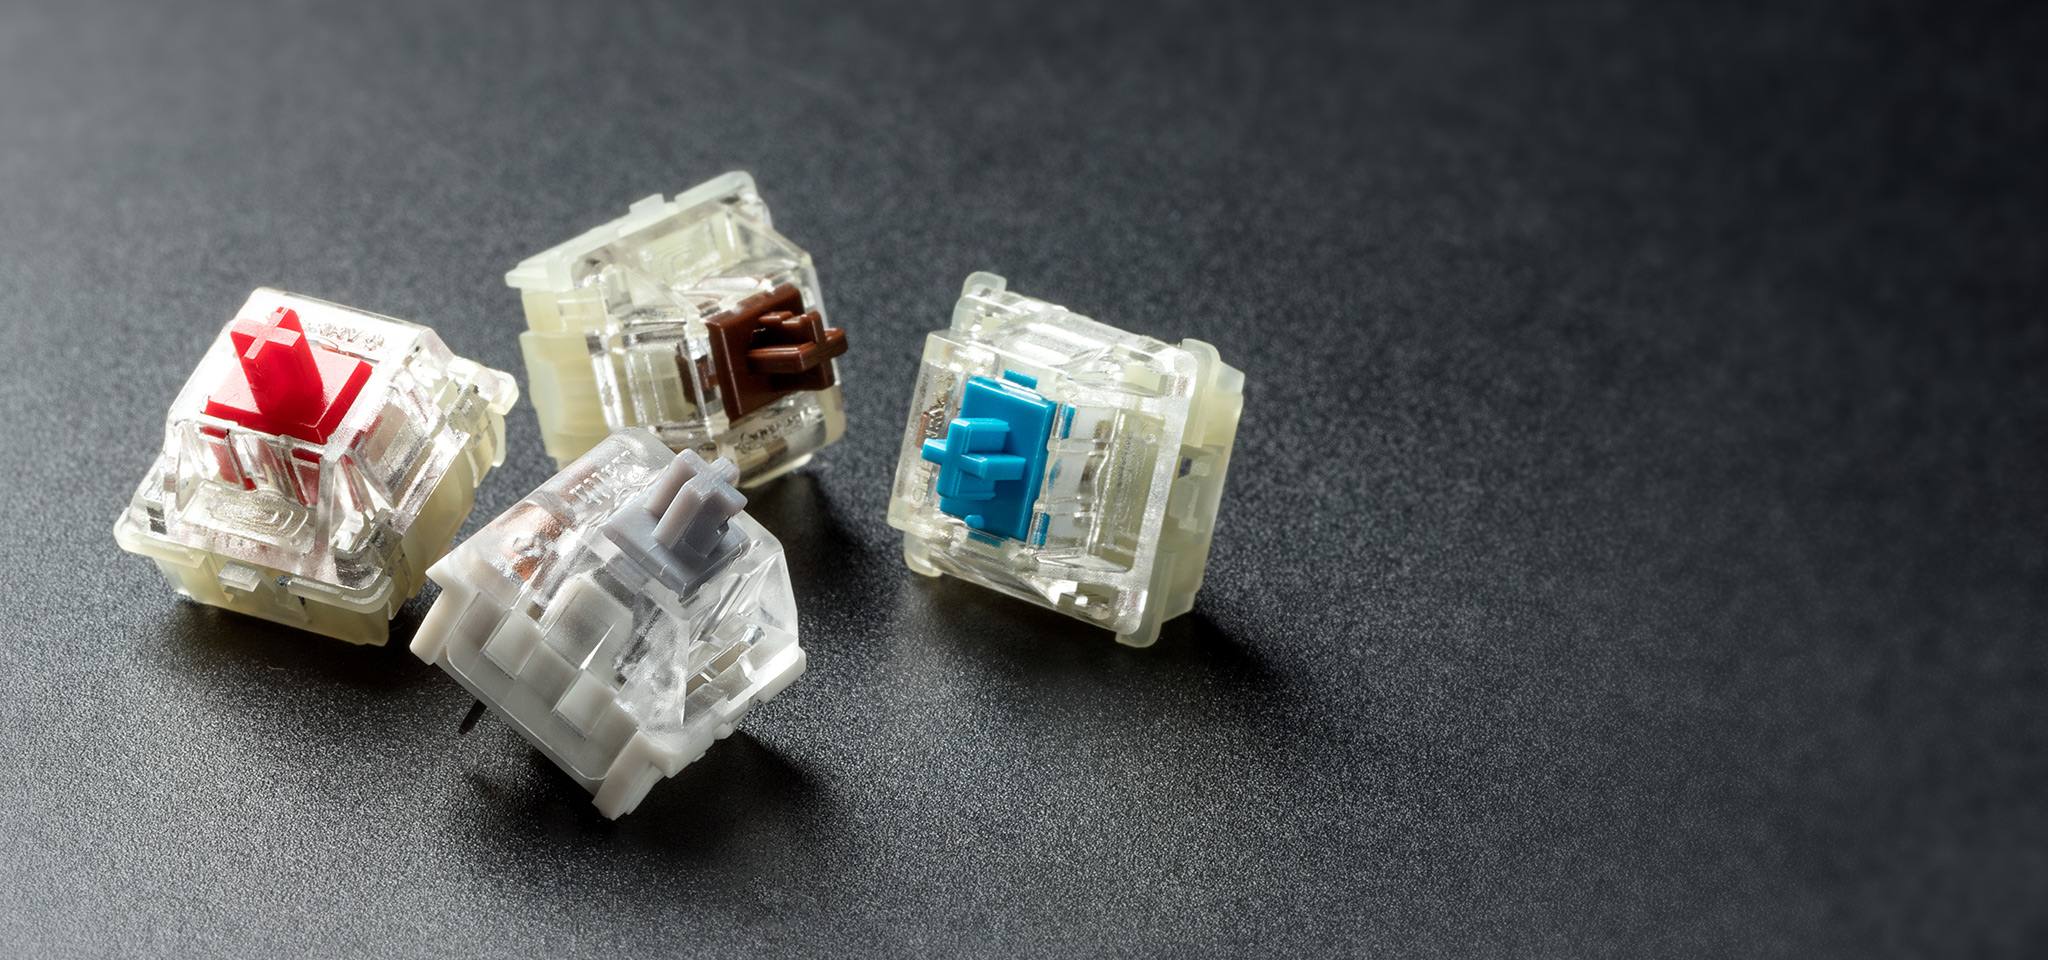
Switches from HyperX, who offers a variety of red, brown, blue and silver switches
There are many many brands out there, and it is hard to judge and choose without ever having typed in one. That’s the good thing about a pre-built keyboard, they’ll choose a switch brand for you and you can test it out.
I decided going with a Gateron Phatom Brown switch. It comes with the pre-built keyboard I chose, reviews are not terrible, and a brown switch serves a middle ground of wanting some tactile feedback without too much clicky noise that might disturb my wife. I might try a blue switch at some point, if I decide I’m actually doing a lot of typing.
Keycaps
This is what your fingers will be touching and pressing every single day. They have to be good quality plastic, and feel good to your fingertips. They are also what you are gonna be looking at and how you can create a look and feel that matches your taste.
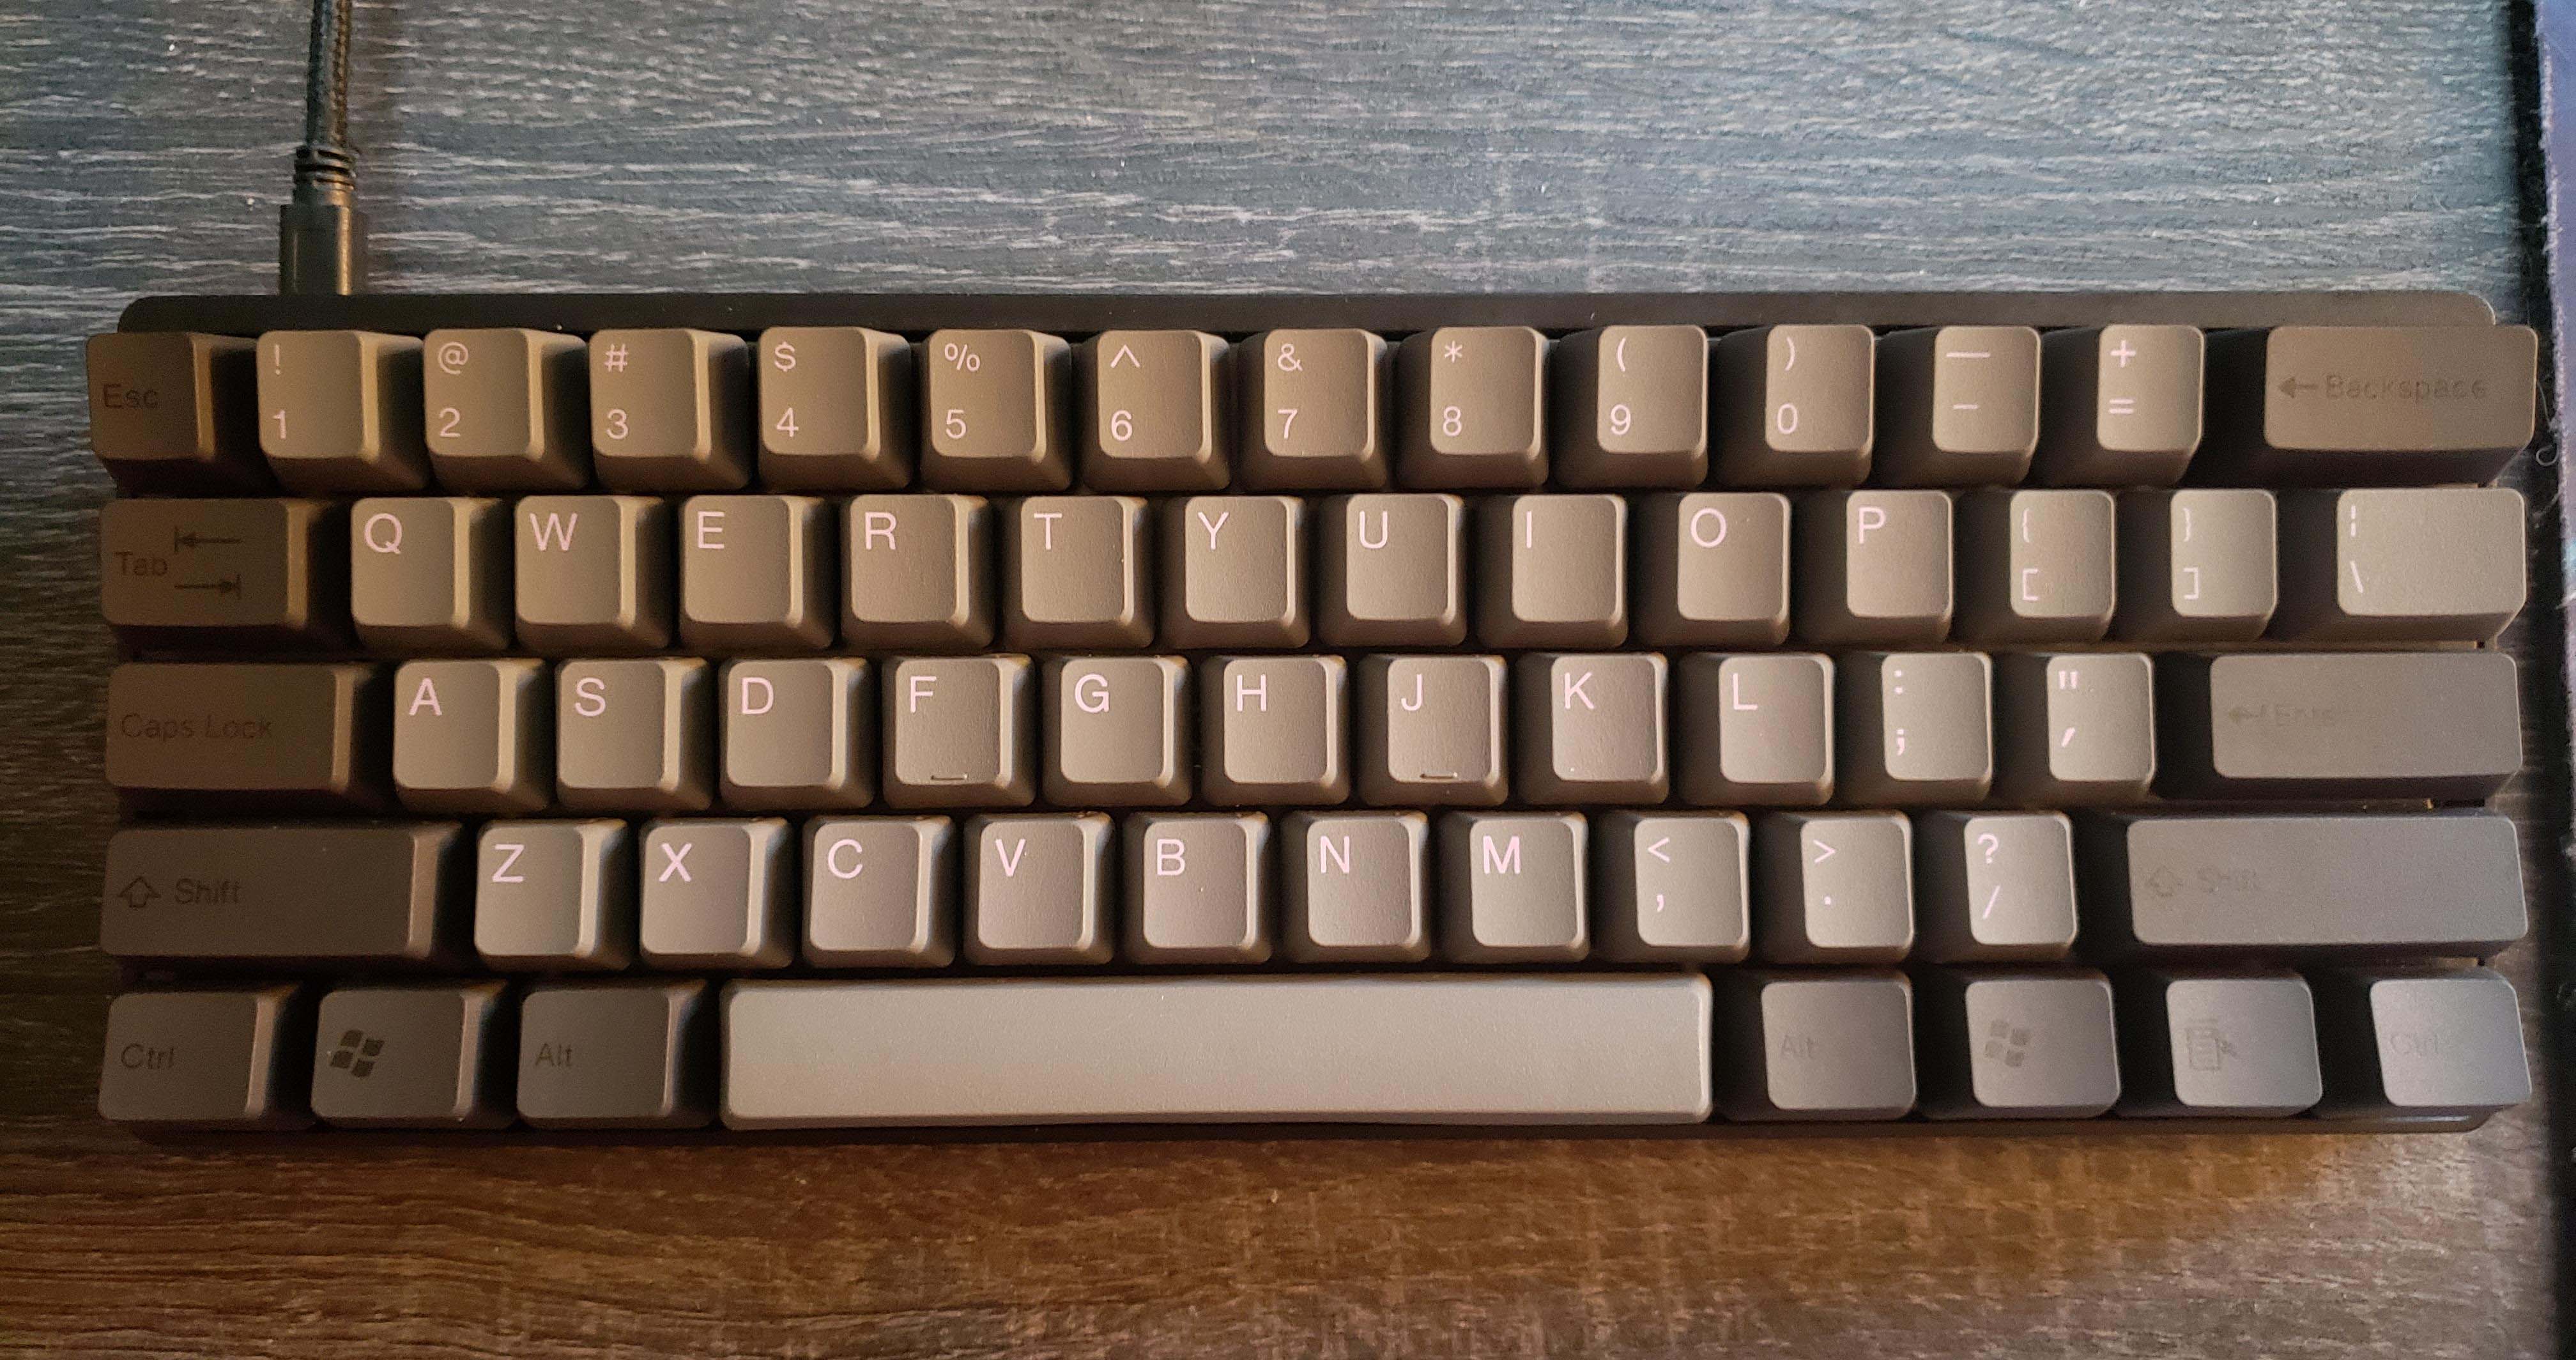
Nice brownish keyboard pattern
You can go crazy with customization here, and get the most outrageous keycaps you might want. Seriously, there are sushi caps lock keycaps, which does not look comfortable to me. You can also mix and match colors, patterns, and create a keyboard that looks just how you want.
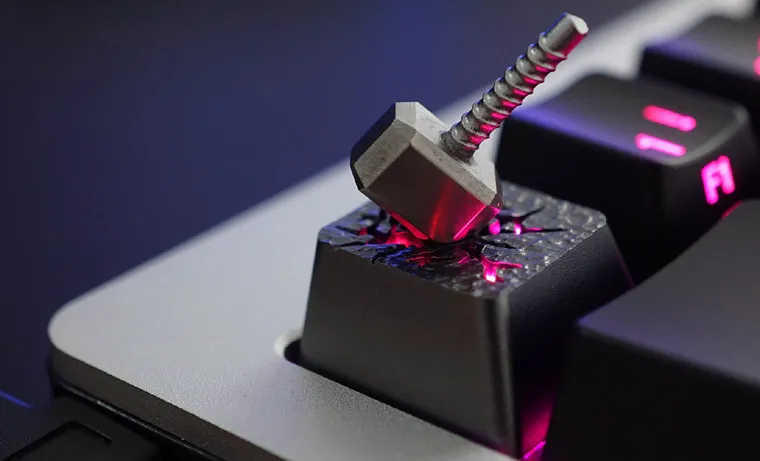
Mjollnir hammering your escape key
With regards to materials, there are basically two types of keycaps: ABS and PBT. I’m skipping metal keycaps, but they also exist if you want some. Related to manufacturing processes, you can have them molded with printed labels, or ‘double shot’, which means the labels are a part of the key and will not fade with use. PBT is also more resistent and less prone to oily coats after a lot of use, while ABS is the cheaper option.
Again, you can see a lot more at Mechanical Keyboards. I’ve chosen to go with my keyboard’s stock keycaps, and see how I go from there!
Other aspects
Here I really want to talk about two main things: casing material, connectivity and layout.
I wanted my keyboard to feel premium quality and to last a long time. If I can customize it and change switches and keycaps as time goes by, it means the casing and board needs to be durable. I’ve chosen to go with a CNC machined alumninum keyboard that feels heavier than plastic casings, and that will look great on my desktop.
With regards to connectivity, I’d prefer to have the flexibility of being able to connect wirelessly and wired, and being able to switch between Mac and Windows layouts.
Finnaly, the layout. I’m still going through different thoughts regarding this. I’d love to have a full 100% keyboard, because I love using numpad when needed, specially when working and writting lots and lots of numbers on a spreadsheet. The one thing I really want is to have a slightly separate arrow keys. Whenever I use keyboards that mush everything together, I have hard time finding the arrow keys by tactile and memory only. Having a small separation, and some empty space, really helps me typing without looking.
Final contestants
I ended up narrowing my options down to the following three keyboards:
- Keychron Q1 - US$ 169.00
- Drop CTRL - US$ 149.00
- TOFU96 - US$ 199.00
For my final decision, I went with the Keychron Q1, which is currently out-of-stock on its fully assembled option but hopefully will be restocked for the holidays soon. On why the Q1, basically the only item on my list it doesn’t cover is the wireless capacity. Otherwise, it looks super pretty, comes pre-assembled and is hot-swappable, so I can customize it later if I decide to, has good quality case, switches and keycaps and comes with a nice coiled USB-C cable, which looks better than the Drop CTRL one. The Drop CTRL is also a bit bigger without the advantage of a full numpad, so kind of the worse from both sides.
I’m waiting for the re-stock to pull the trigger on this one!
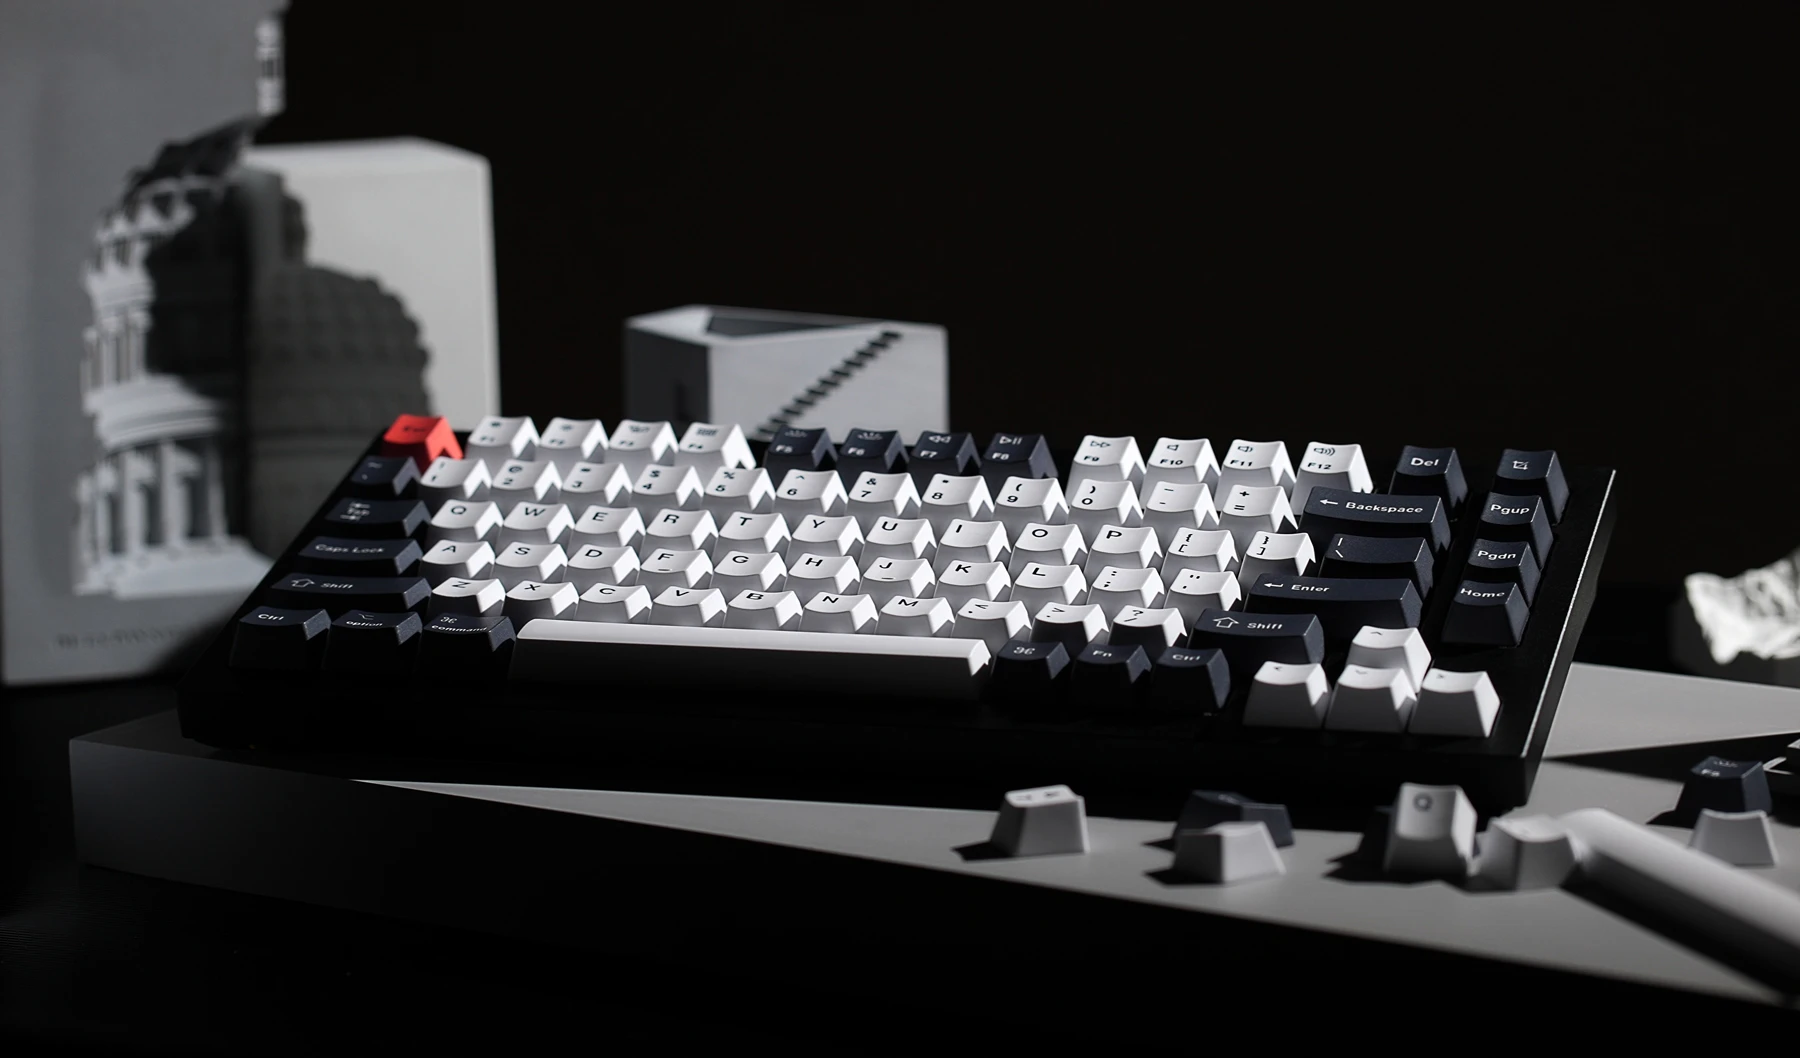
The Keychron Q1 looks great and is fully customizable so I keep options for the future
Monitor Arm
If you are working on a standing desk, a raised monitor is very important. The height of a desk for your arms to lay comfortably on a keyboard is usually such that a monitor standing on top of it will not be directly at your line of sight, and you’ll have to keep looking down-ish to see your screen.
Because of that, you’ll either need a monitor raising stand or a monitor arm, so that you can raise it to be directly in front of your eyes.
Either works fine, but having the extra desk space that a monitor arm provides is great. I also want to upgrade my current monitor in the near future, moving from my current 24" cheap HP to a better and bigger 32" to 34" 4K curved display, so I need an arm that would be able to hold that weight in the future.
In terms of asthetics, I prefer one of those bi-articullated arms that comes from the side and diagonally brings the monitor to the center of the desk, instead of those vertical poles that have one articullation only.
This narrowed my search a bit, and I ended up with the two following options:
- Fully Jarvis Single Monitor Arm - US$ 110.00
- Ergotron HX Monitor Arm - US$ 310.00
While the Ergotron HX is much more of a heavy duty arm, holding up to 42lb, it is also a lot more expensive, almost triple the price of the Jarvis. The specifications of the HX also show that it can hold a minimum of 19lbs, which is the maximum the Jarvis can hold.
Yes, I would love to future proof my setup, but my current monitor weights only 9lb, and my current next option weight about 17lb, so I guess my choice was not really a choice at this point.
The Jarvis looks great, specially the white version, and has cable management, gas spring loaded arms, can be mounted in a grommit or at the side of the desk. So, I guess that is it.
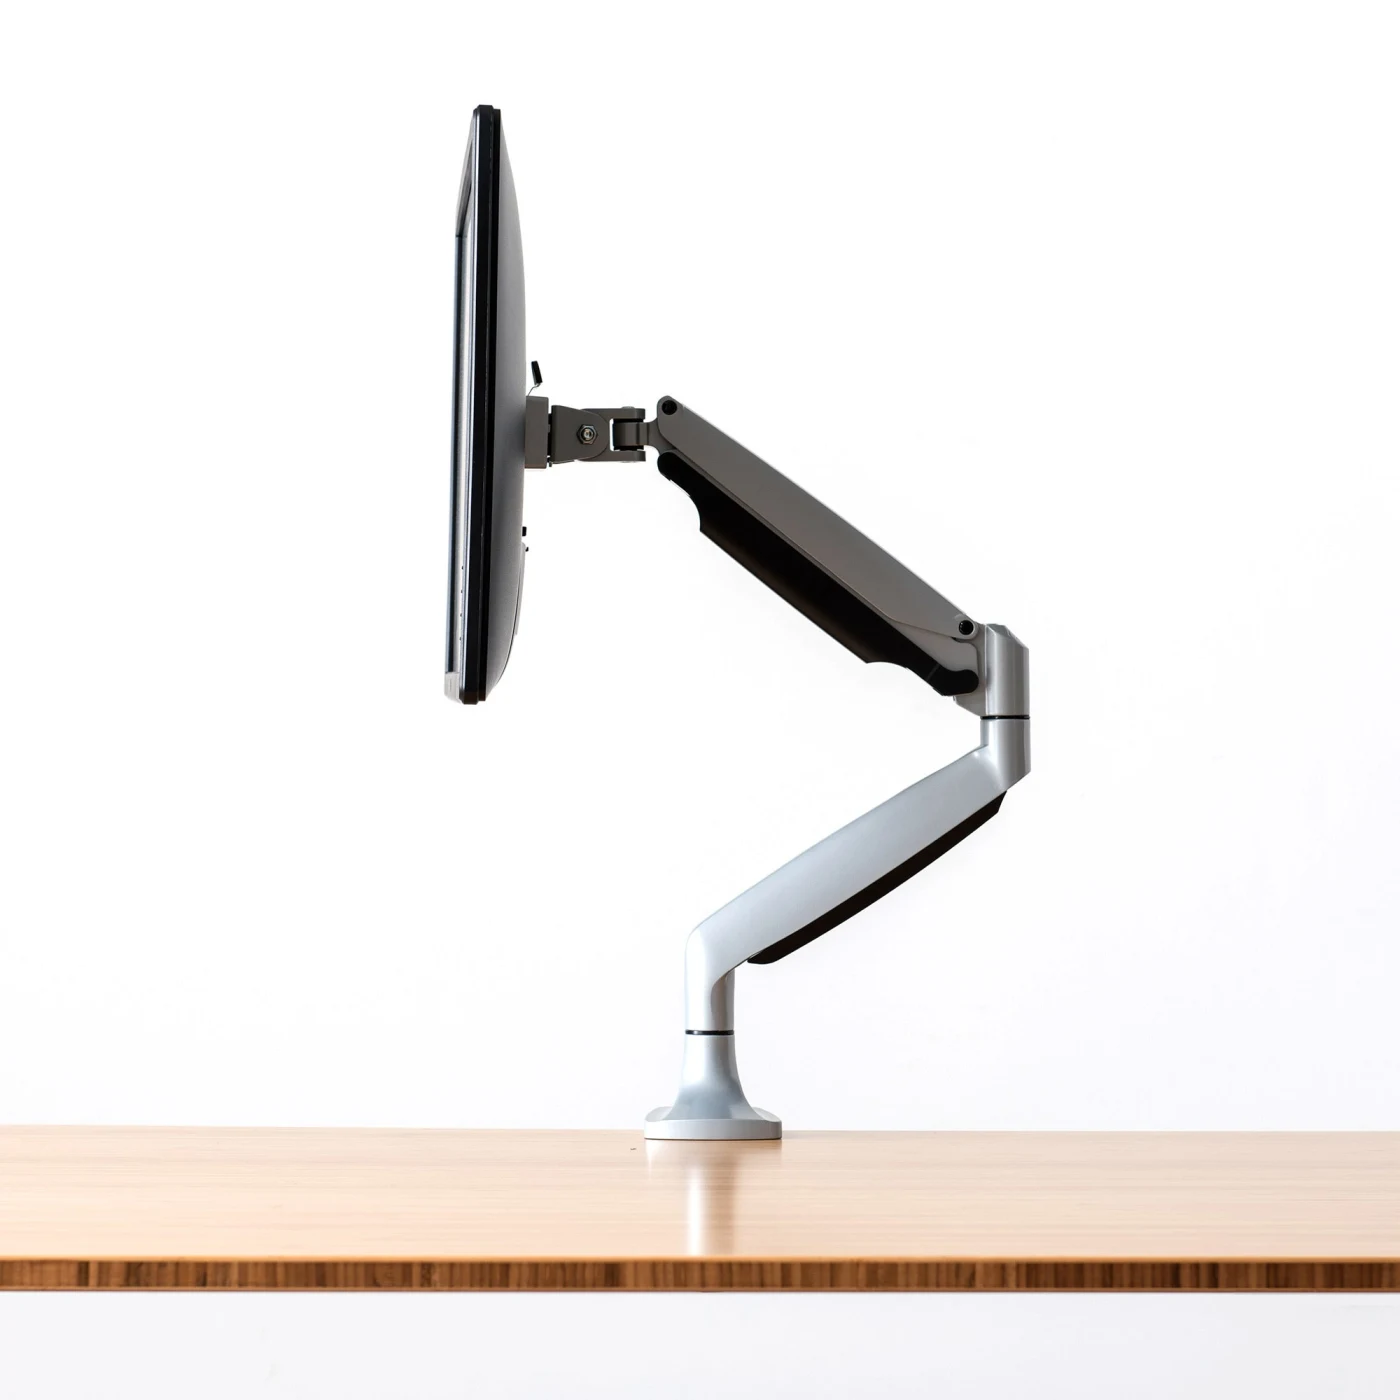
The Jarvis monitor arm
Further improvements
This sounds like my thesis final chapter, but it’s just a place for me to keep my current ideas for the future of my desk setup :)
My current monitor is okay, but if I will use only one monitor in the future – laptop will be closed, I do need a bigger one. I currently have an HP VH240a, and would love to get a 34" curved display, preferably 4K, but these are running quite expensive right now so an Ultra WQHD like theh Samsung S65UA will probably have to do.
Regarding a laptop dock, or just a place to keep it while not using it ‘as a laptop’, I’ve come across these beautiful mable wood dock from Grovemade, linned with merino wool felt to protect the MacBook agains any scratches. The maple wood goes really well with the bamboo tones. I originally saw it on @maisyleigh_ TikTok videos, and later on her Youtube channel.
hello 👋🏼 #desksetup #tech pic.twitter.com/QqL02Fa3SS
— Maisy Leigh (@maisyleigh_) September 29, 2021
For the deskmat, I already have a Tesobi Desk Mat that I enjoy, but for the newer setup I’d love to get an Orbitkey Desk Mat in Stone. I love that it has a document hideaway and a magnetic cable holder, which will come in very handy for my keyboard cable. Another shoutout to @maisyleigh_ for this item as well!
Last but not least, with a standing desk comes almost no storage space. So a filing cabinet will be quite welcomed in my setup. I haven’t yet looking too much into it, but preferably one that has wooden tones would go quite well.
Summary
Alright, so here is the rundown of what I’ll probably end up getting:
- UPLIFT V2 Narrow 24"x48" – US$ 847.00
- Keychron Q1 – US$ 169.00
- Fully Jarvis Monitor Arm – US$ 109.00
- Orbitkey Desk Mat – US$ 79.90
- Grovemade Mable Wood MacBook Dock – U$ 120.00
- Samsung S65UA 34" Curved Monitor – US$ 699.00
For a grand total of US$ 2024.
I’ll keep updating this post and writting some new ones once I get my hands on all of this. For the time being, thanks and check with y’all later.